Not interested in buying one of the pre-built gaming rigs offered by Asus because you want something more mobile for using your Oculus Rift or HTC Vive HMDs (head-mounted devices)?
Here’s a list for a build spec that will get you going with something you can carry around easily:

A Mini-ITX form-factor case which has a great design, allowing you to mount a full-length video card in-line with the motherboard, making for a slim design. In addition, this particular model has a carrying handle for increased portability.

A Mini-ITX board with lots of flexibility. A key feature is that the Oculus requires 3x USB 3.0 ports and 1x USB 2.0 port. This Skylake-capable board has lots of connectivity options, and you’re covered for pretty much anything you need to do. In addition, if you want the system to really scream, it is one of the few Mini-ITX boards with a m.2 storage slot (hidden underneath the board).
SilverStone 600W SFX power supply

The only downside of a case this slim is that you need to use an SFX form factor power supply to feed it. Fortunately, SilverStone has some well-reviewed options in this category.
Edit: This PSU works perfectly for the case, but burned out on me not long ago. It was covered under warranty still, but I was in the middle of a project, and couldn’t wait for the RMA process before getting up and running. I picked up the Corsair version as a replacement, and it works great, electrically and thermally. One of the cables is a bit short, but everything works for this build.
Corsair SF600

Currently the fastest Skylake processor available, this CPU utilizes all the latest tech while being power and thermal-efficient. The K suffix indicates it is unlocked, meaning you can overclock it, if you want to push the performance.

One of the favored CPU cooler options out there right now, this model is designed for the Intel 115x-series motherboard form-factor. It is compact, to avoid interfering to with components on the motherboard, and very quiet.
Corsair Vengeance LPX 32GB DDR (2×16)

Well-reviewed memory, cramming the max capacity for this processor/board combination. The RAM supports the XMP 2.0 standard, allowing for automatic overclocking. Strictly-speaking, 32GB may be overkill, so if you decide to cut down, ensure you get a minimum of 8GB (the minimum requirements for both HMDs).
Samsung 950 Pro m.2 NVMe SSD 512GB

This is one of the more optional components, performance-wise, but speaking from experience, if you’re trying to make something that will run VR as fast as possible, which includes reducing load times, this will be your best friend. The NVMe storage is significantly faster than a standard SSD, which will keep your game transitions to a minimum. (And if this is the only drive you install, you’re removing a whole bunch of extra cabling for power and SATA you don’t need!)
Asus Strix Gaming Geforce GTX 1080 OC

The video card is the one thing you can’t skimp on. You have a few options here. The previous-generation GTX 970 and 980 will work, but the new generation GTX 1070 and 1080 have VR-specific optimizations, in addition to some impressive performance increases. The reason I went with the Asus in this case is that this machine is designed to be portable and used for demonstrations. This means that the dual HDMI ports onboard allow you to connect to a TV or projector easily, while also still leaving a free port for the Vive or Rift.
If that isn’t a requirement, I strongly suggest EVGA’s cards, due to their excellent quality and support. (Please note, due to non-Amazon vendors selling cards at a premium due to limited initial supply, the reviews tend to be poor, but has nothing to do with the quality of any of the cards.)
GTX 1080 “FTW” Edition

GTX 1070 Superclocked:

I hope this helps anyone looking for some tips. Drop questions in the comments below.
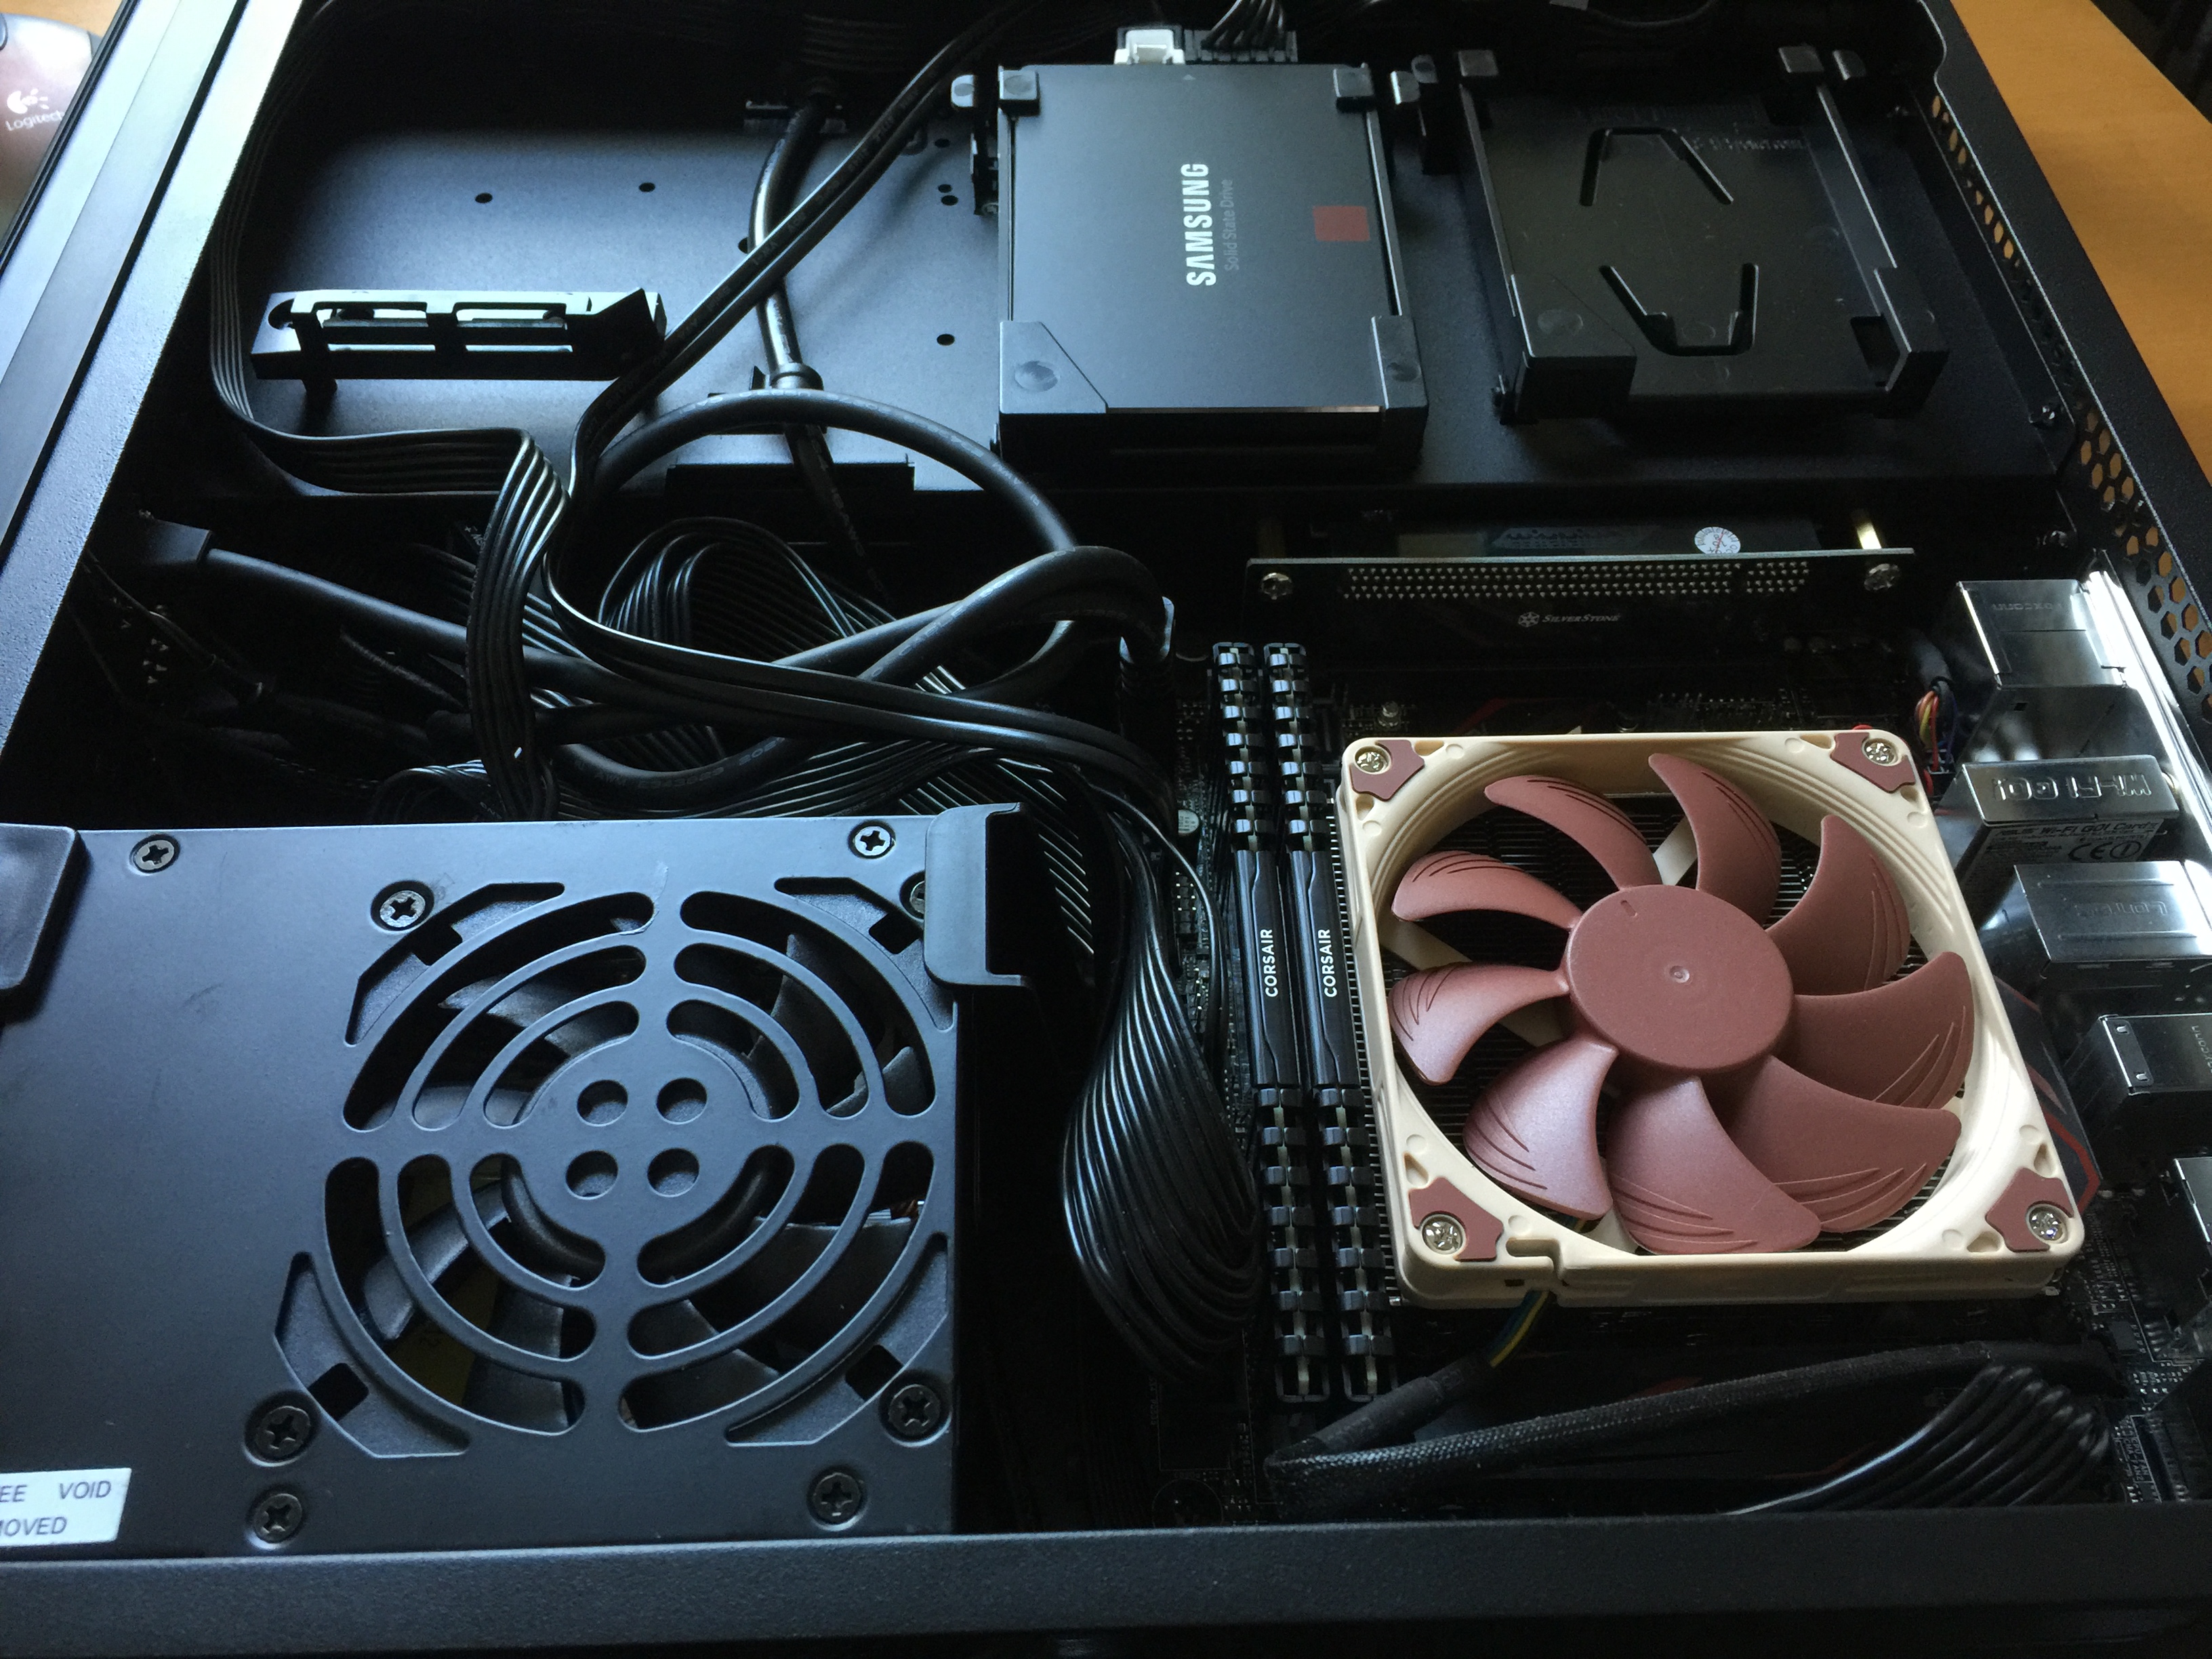
Here are photos of the motherboard side of the build.
UPDATE:
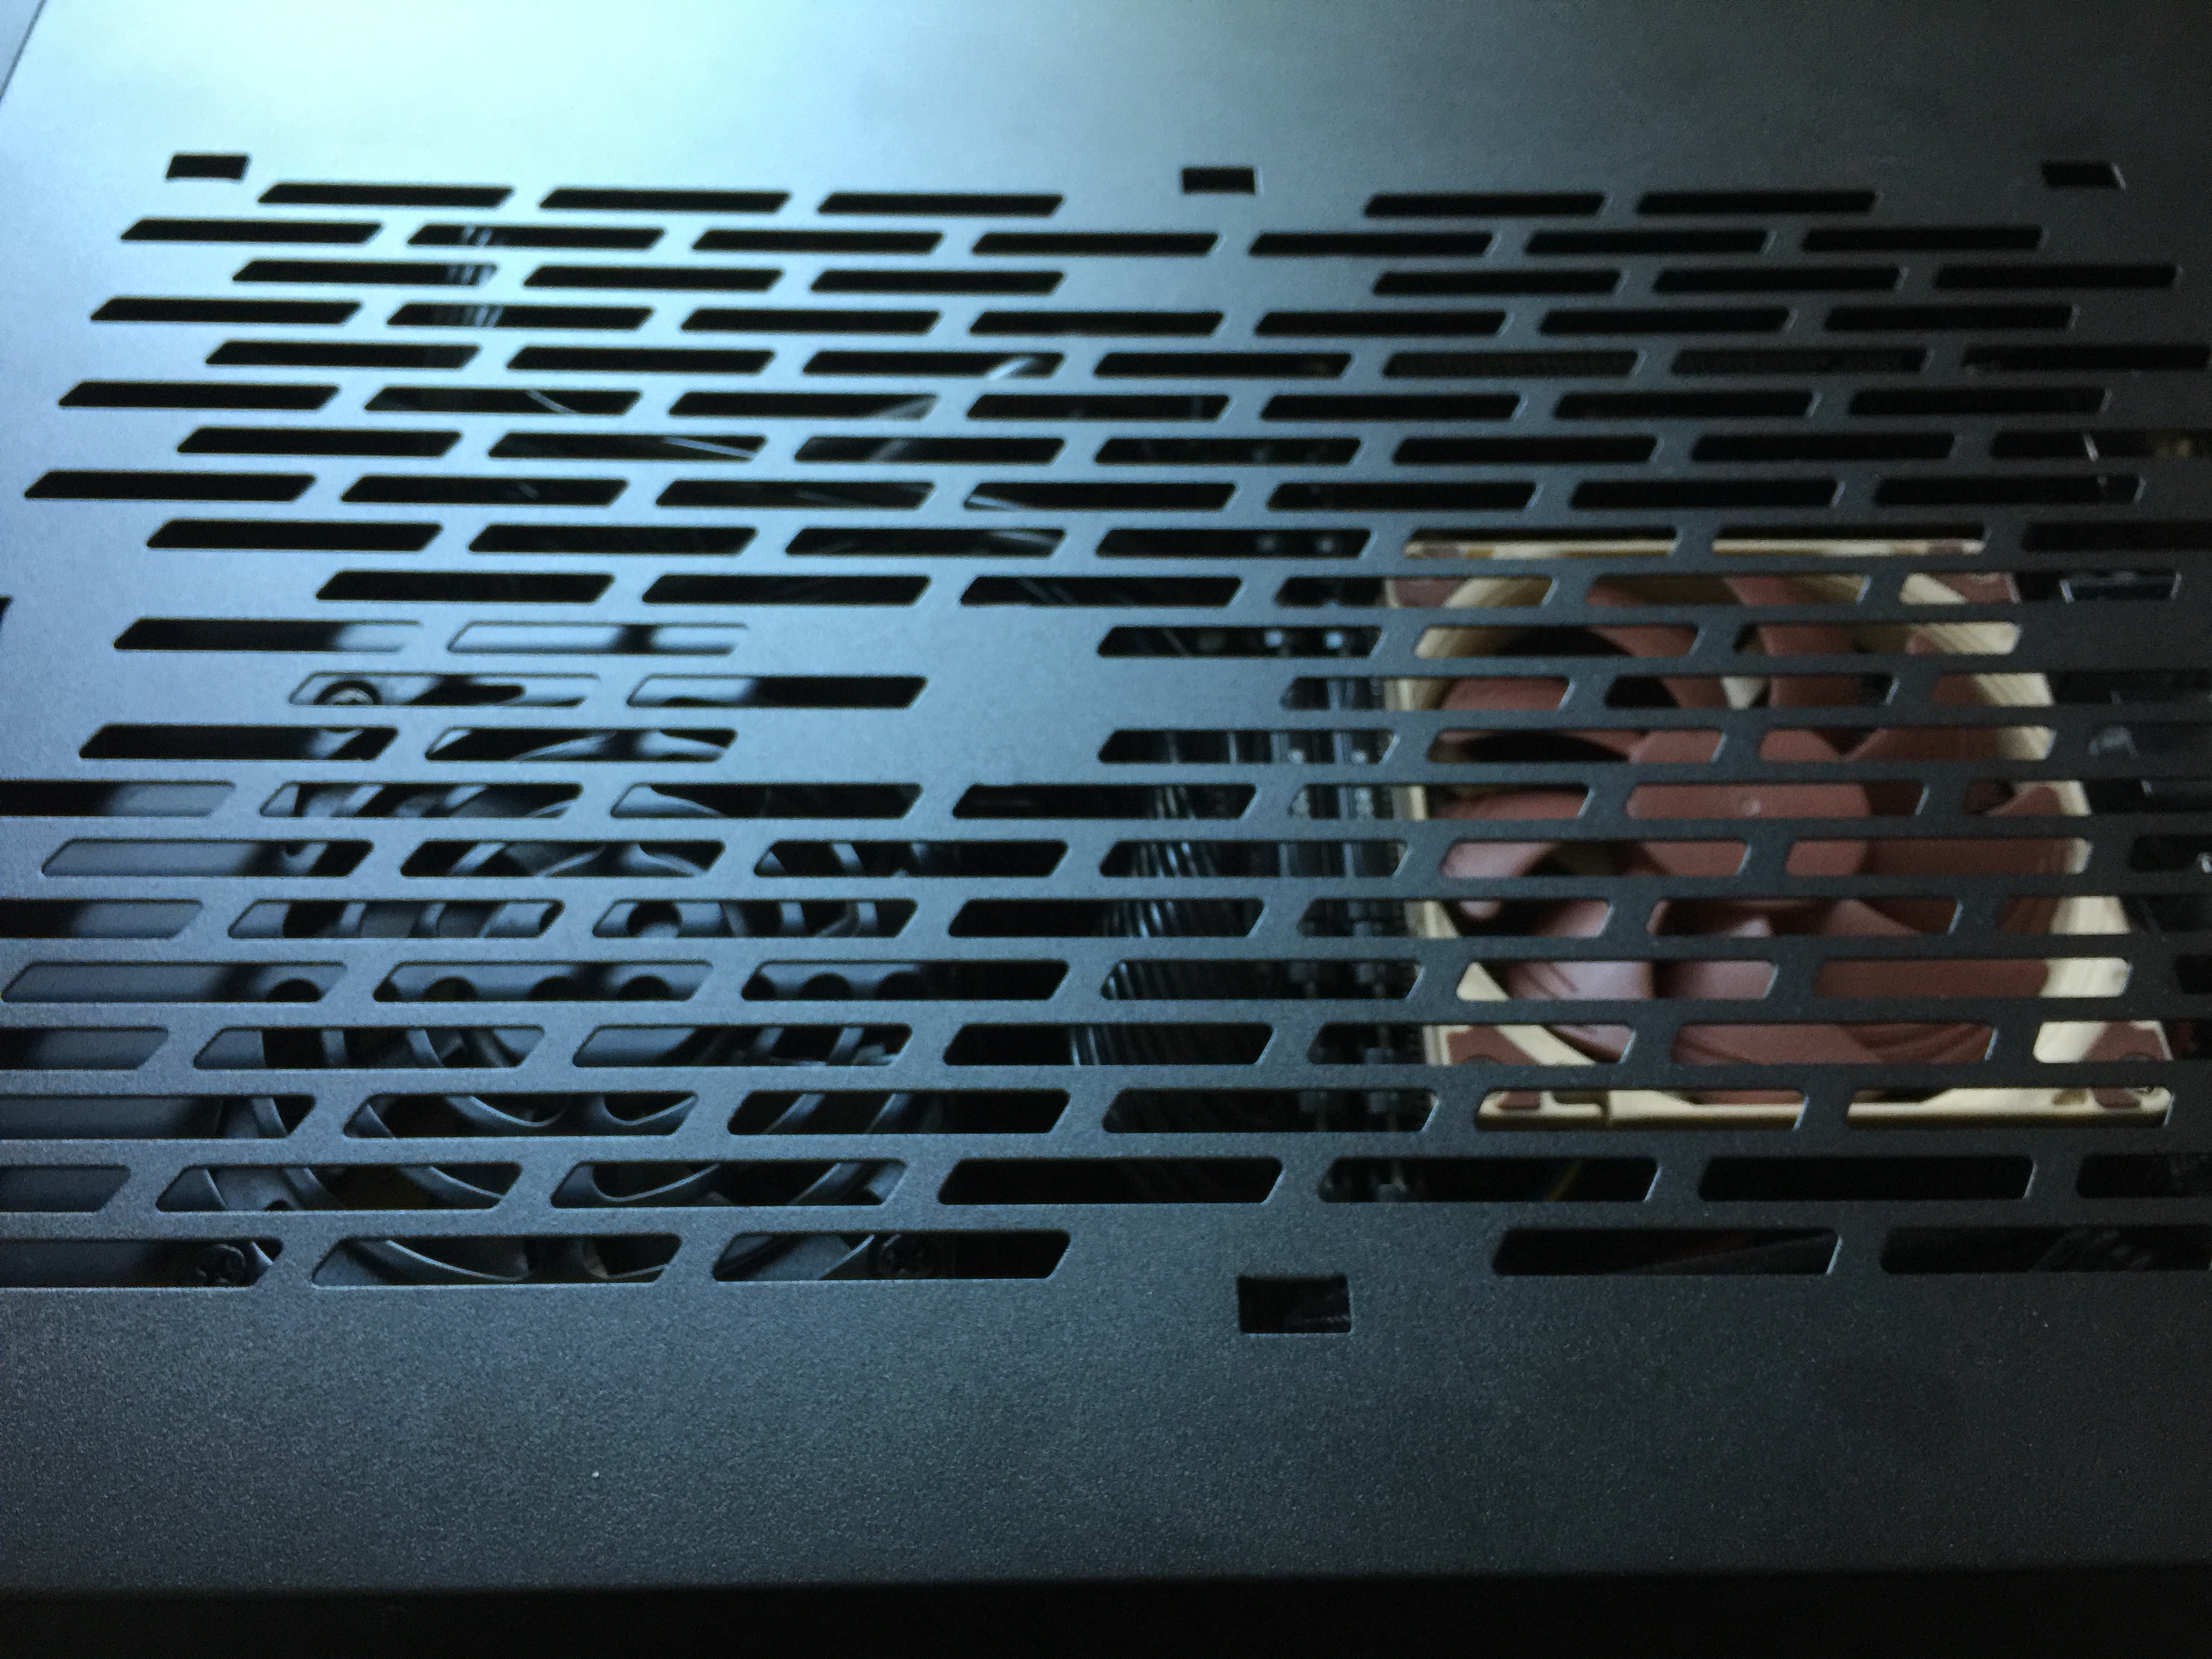
I decided to add a fan to the case to keep the rest of the motherboard/RAM cooled. Because of the low-profile fan, I was able to fit this nice, slim 140mm fan perfectly in place above the motherboard. Without case modification, it is possible to screw it in to the air intake slots on the diagonal corners.
Thermaltake Luna 140mm Slim Series
